
I love her...
... I'm sure it's mutual...
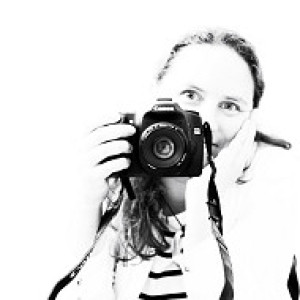
[finished version on my [url=http://www.blipfoto.com/entry/1398982]Kinda Horrigans[/url] journal]
This is one of those days where if I wasn't doing a 'photo-a-day' thing, I'd probably not have taken a photo at all! Which means anything I did take really wasn't great and needed a bit of rescuing.
And if you look at these, the most obvious thing is that I was having 'can't hold my camera straight' troubles! Still, I liked the dangly paw of the cat and my daughter, oblivious to the cat's discomfort... so the shot had something in it to save.
So, first thing was to straighten it. Did this in Photoshop by duplicating the background layer, then using Filter > Distort > Lens Correction and the straighten tool in there. By straightening using a duplicate layer, when you twist the shot, the bit that would otherwise be blank has the original shot behind it - with the right colours / textures and with only a bit of cloning, you can hide the join between the two layers. Also cloned out a little spot behind the cat's leg which annoyed me! After that, I used Filter > Render > Lighting effects and chose a large omni spotlight, set the layer to lighten blend mode (this then only lightens by comparing the two layers and anything which is darker as a result of the affect you've just chosen remains unchanged - can't think of a better way of describing that!). Finally, a bit of warming of the colours using a Hue / Saturation layer, then sharpened and saved.
Tip of the day:
If you've started to work with Layers in Photoshop then all the various blend modes - i.e. how the layer on top is blended with the layer immediately below - can be very very confusing. There's a pretty comprehensive article on it which is worth bookmarking and reading to learn more about it - because there's some fun stuff to be done if you understand them!
297
views
- 1
- 0
- Canon EOS 50D
- 85mm
- 100
Comments
Sign in or get an account to comment.


