You know those sensible 'Back to School' shots?
This isn't one of them!
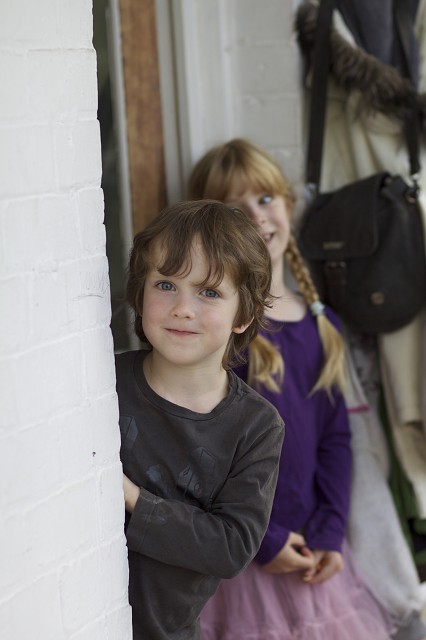
[finished shot on my [url=http://www.blipfoto.com/entry/1401345]Kinda Horrigans[/url] journal]
Am having many minor photographic disasters at the moment. If I've had a scary busy week then my photography always goes down the toilet - and as you can see, I had my 'taking shots that are tilted' head on again.
So, the RAW file was processed first - slightly brightened and increased the clarity. Then, into Photoshop where I duplicated the background layer, then used Filter > Distort > Lens Correction and the straighten tool. You basically draw a line along a part of the shot which should be horizontal or vertical and then it straightens it accordingly - in this case, the wall to the left hand side is what I used to straighten it. If it's not obvious what to go for in terms of something to straighten against, then I pick one of the strongest horizontals or verticals and go with that - it's those parts of the shot which they eye's drawn to, so making sure they look 'right' normally works.
After straightening, a little bit of cloning to neaten the edges - and then I cropped ever so slightly to give the shot a bit more balance. I brightened the centre using Filter > Render > Lighting Effects and set it to 'lighten' blend mode. Then, sharpened and used a 50% grey overlay blend mode layer to brighten his eyes.
Flattened and saved.
Tip of the Day:
Unlike my random 'snap 'em if you can' approach, some people do proper portraits! So, if you're going to do a grown up 'posed' portrait then there are certain ways to get people to pose which work - and this article is great for that!
324
views
- 0
- 0
- Canon EOS 50D
- 85mm
- 200
Comments
Sign in or get an account to comment.


