
Next big projects for the Sn3 and N layouts
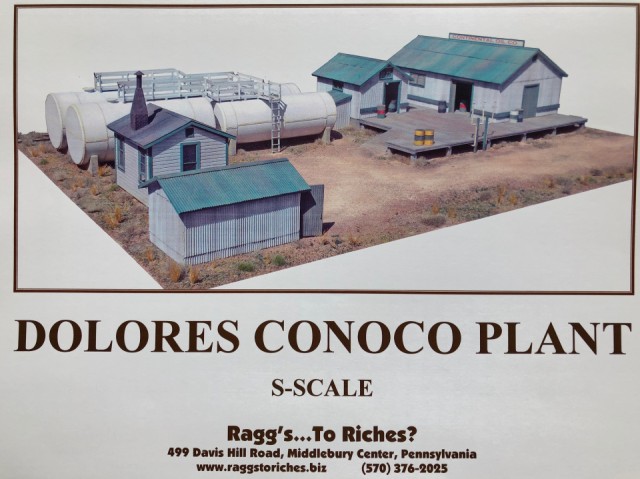
For the next big projects on the Sn3 layout, I decided that I needed to build the Conoco Oil depot at Dolores. The blip is of a superb kit by Raggs to Riches of the plant as it appeared in the 1920's +_. Even tho I model a later era, it is way good enough for me and looks right. Raggs makes really good well designed kits that build very well. The fact that the owner of Raggs is also a really nice guy doesn't hurt either. It is a big undertaking but his directions are excellent and it is time. This along with the little cabin and Arnold stall will finish a corner of the layout so I can complete scenery there - and use some of the trees that just arrived. Here is Ragg's website. DO take a look especially at his blog about his progress building his very large Sn3 RGS layout. He is an excellent modeler as well. http://www.raggstoriches.biz
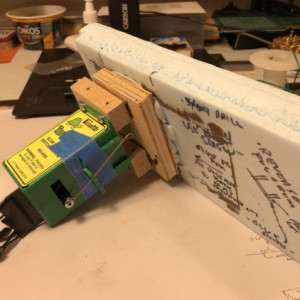
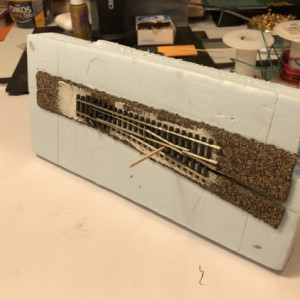
The second big project is to replace the turnout motors on 50 some odd N scale turnouts. When I built that layout's base and track a few years ago, I economized. I used the switch machines (Switchmaster) from my last two N scale layouts. All in all they are over 30 years old with LOTS of use! Instead of investing in new motors, I went ahead and used the old motors. Unfortunately, their age is showing and several are no longer functioning. And they are drawing too much current. So I am starting to replace them with Tortoise machines - by Circuitron. The advantage is that they are compatible with my NCE Switchit boards, and can provide power to the turnout frog. Until now, I have relied on the pressure between the blades and rail for current - a little dicey. Especially with N scale locos. The challenge is that to replace the motors, I needed to come up with an easy way to do it. The extra blip shows a model I made to solve this. All the turnouts are installed on 1" foam, with a 1/4" piece of plywood underneath to hold the old switch motor screws. My plan will use a couple of small 1/2 by 3/4" pieces of trim that will hold the new motor. That assembly will be stuck to the existing plywood with permanent industrial double sided tape. I did this test a year ago to see if iit would last and so far tit holds well. This gives me enough room for the existing throw rod to turn and be connected to the new motor swing arm. The second extra blip shows the top and where I will drop the frog power lead.
This overall method should limit the time under the railroad, and eliminate any soldering, much as I love to drop molten solder on my bald head.
The reason I am doing both projects is that I will need a break from each so will alternate work sessions between them.
Sorry for too much writing but wanted to get this recorded. And suggest if you are model railroaders, do not use old stuff on a new railroad!
Comments
Sign in or get an account to comment.


