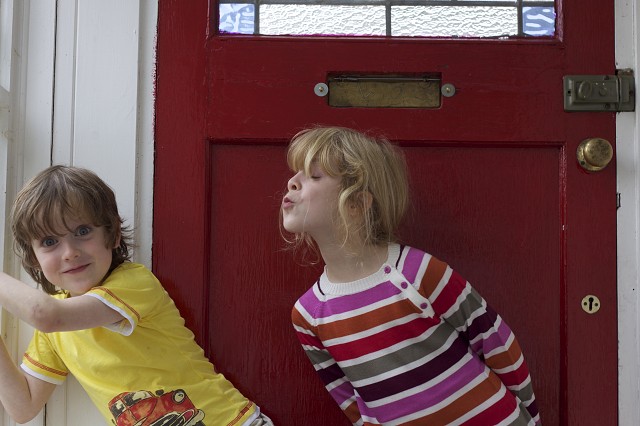
Things big sisters do...
... that little brothers don't like!
[finished version on my [url=http://www.blipfoto.com/entry/1428006]Kinda Horrigans[/url] journal]
Am having editing amnesia! So... I'll go over the RAW file bits because I can still see that (the joy of RAW files is that your edits are saved in a little file!). I upped the brightness to +60 and then clarity up by +10 and vibrance by +20 as I wanted the image to pop.
In Photoshop... I used Filter > Distort > Lens Correction to sort out the vertical perspective as it leaned backwards slightly. Then, a tiny crop to get rid of any bits which were affected by that transformation. Next, brightened Felix's eyes a little by using a high pass filter and a 50% neutral grey overlay blend mode layer. Then, adjusted the curves, boosted the contrast, added a dark blue colour fill layer with a soft light blend mode. And probably a couple of other things but I really can't remember!
I think the thing to note with this one is the order in which my workflow heads which is pretty typical...
1. Process RAW file
2. Straighten or adjust tilt
(2a. Or tweak small details such as eyes before making a big change)
3. Mess about with big edits - such as colour changes / b&w conversion
4. Mess about with small edits - such as dodge and burn etc
5. Sharpen, flatten and save.
So... final step was... sharpened, flattened and saved!
Tip of the Day:
I'm sure I've shared 'vintage' tutorials before, but this one looks like it could be fun!
284
views
- 0
- 0
- Canon EOS 50D
- 50mm
- 200
Comments
Sign in or get an account to comment.


