
Coming up for air...
Sorry - another day where I write up what I did to the image too long after processing it to really remember.
[finished image on my [url=http://www.blipfoto.com/entry/1432266]Kinda Horrigans[/url] journal]
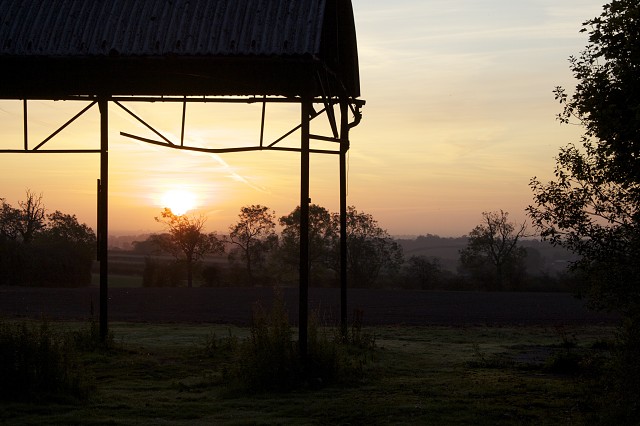
The main thing you can see with this shot - I hope - is that the exposure is far more balanced than in the 'before' version. I've bought out some of the richness of the dawn colours and also some of the detail from the foreground. The easiest way to do this - particularly with something where there's a nice straight(ish!) horizon, is to process the RAW file twice - once so that the foreground is properly exposed (and reducing the saturation because otherwise the colour noise can be too much) and once for the sky and to bring out some of the morning colours. Then, in Photoshop you copy one onto the other and use a layer mask to erase the bits you don't want to sho - leaving you with a balanced shot.
After that, a bit of adjusting using layers - brightness and contrast / levels - using the polygonal selection tool to pick either the top or bottom and applying the effect to a feathered selection of one of those. Sharpened, flattened and saved.
Tip of the day:
If you want to know how to double process a RAW file it's dead easy and this article walks you through it in a much clearer way than I can explain it!
173
views
- 0
- 0
- Canon EOS 50D
- 55mm
- 400
Comments
Sign in or get an account to comment.


